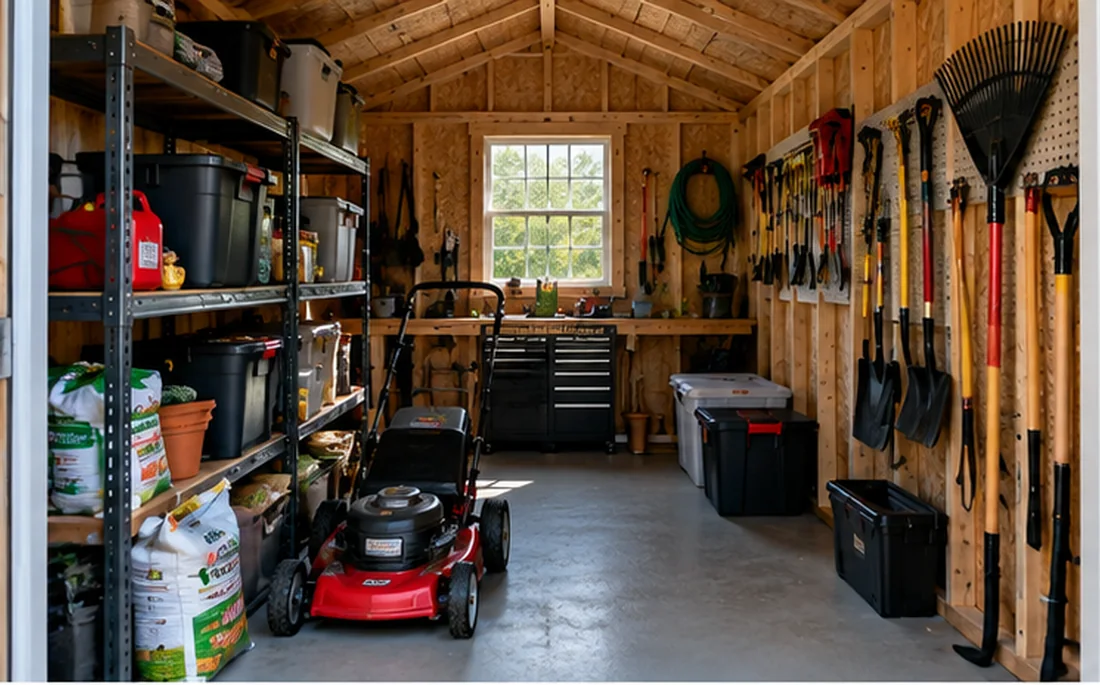
A shed can be attractive to rodents and insects because it offers shelter and clutter. The best prevention begins with housekeeping and closing access points—not with spreading unsafe chemicals around stored equipment.
Remove invitations first
Do not keep food or seed in easily chewed packaging. Clean spilled soil, plant materials, and nesting supplies. Keep trash and vegetation away from the perimeter.
Find gaps without blocking intended vents
Inspect doors, floor edges and service penetrations. Manufacturer-approved mesh or seals may help, but do not obstruct required ventilation or drainage openings.
Use stable, inspectable storage
Closed bins and shelves make evidence of pests easier to spot. Avoid dense stacks of cardboard against exterior walls.
Choose controls with care
Follow label directions, pet and child safety warnings, and local requirements. Persistent activity may warrant a licensed professional; avoid improvised poisons or unmarked bait.
Find the real attraction
Pests may be drawn by birdseed, pet food, nesting material, standing moisture or clutter. Start a simple inspection log: location, evidence, possible food sources, and any changes made. Remove food or place permitted items in containers appropriate to the material. Reduce dense vegetation that touches the shed, and keep the area around the base visible for inspection. Do not store household food products in a garden shed by default.
Secure openings without damaging the building
A gap beneath a door can be an entry path, while a purpose-built eave opening may be essential ventilation. These should not be treated alike. Ask the shed manufacturer which seals, mesh or closure products are compatible with the design. Do not fill wall cavities with improvised materials that trap moisture, interfere with panel movement or create a fire concern. Insect and rodent control should comply with the product labels and local rules.
Follow up instead of assuming success
Inspect again after a reasonable interval. Look for new droppings, nesting debris, chew marks or unexplained damage. A one-time cleanup does not guarantee the issue is resolved. For repeated activity, professional identification of the pest and entry points can prevent unnecessary exposure to pesticides. Keep people and animals away from any control products as directed by their labels.
Buyer / homeowner checklist
- Remove food sources and nesting materials
- Inspect door seals and base gaps
- Preserve manufacturer ventilation openings
- Choose any pest controls per label and local law
Put it into practice: a planning example
An owner sees shredded paper behind a stack of cardboard and immediately wants to seal every opening. Better first steps are to remove food sources, document the evidence, and trace possible entry points while distinguishing gaps from designed vents. Shift storage into stable containers, clear vegetation near the perimeter and inspect around doors. If screening is permitted, select it for the actual opening. If the problem persists, professional identification can be more effective than random traps or poisons.
Questions to bring to a seller or installer
A useful comparison begins with current written specifications for exact model numbers. Put all contenders in one worksheet and do not replace missing specifications with guesses. A good answer identifies the product, base, and included services, rather than offering a generic sales assurance.
- What is the source of moisture or wear?
- Can water leave the building and its base?
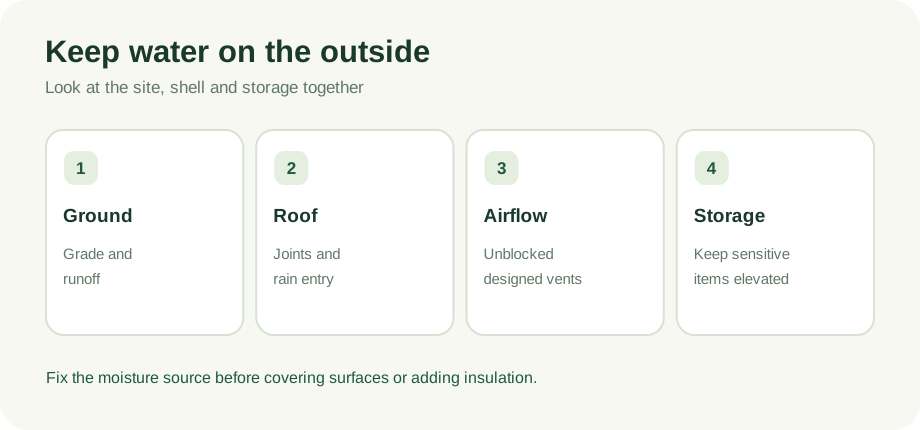
- Which openings are deliberate vents?
- What maintenance is required by the manufacturer?
For every answer, note the model number, the source of the specification, the date you obtained it, and whether it was confirmed in a current installation manual or supplier quote. This makes the comparison more useful if prices or terms change before you purchase.
Frequently asked questions
Will sealing every hole stop rodents?
Sealing inappropriate openings can create moisture problems. Keep required vents and drainage paths functional and use suitable screening where allowed.
Next step: compare complete specifications
Before committing, place at least two suitable models side by side. Note interior dimensions, actual doorway, floor construction, permitted foundation, anchoring, delivery terms, and warranty exclusions. Where specifications or prices are missing, contact the seller for the current written information. If work involves structural changes, power, or local approvals, consult the appropriate qualified professional.
We have not hands-on tested products or inspected customer installations for this article. Product specifications and applicable building rules must be checked with current manufacturers and local authorities. Retailer links elsewhere on this site are direct links until affiliate approvals are confirmed.
Read our editorial policy ↗