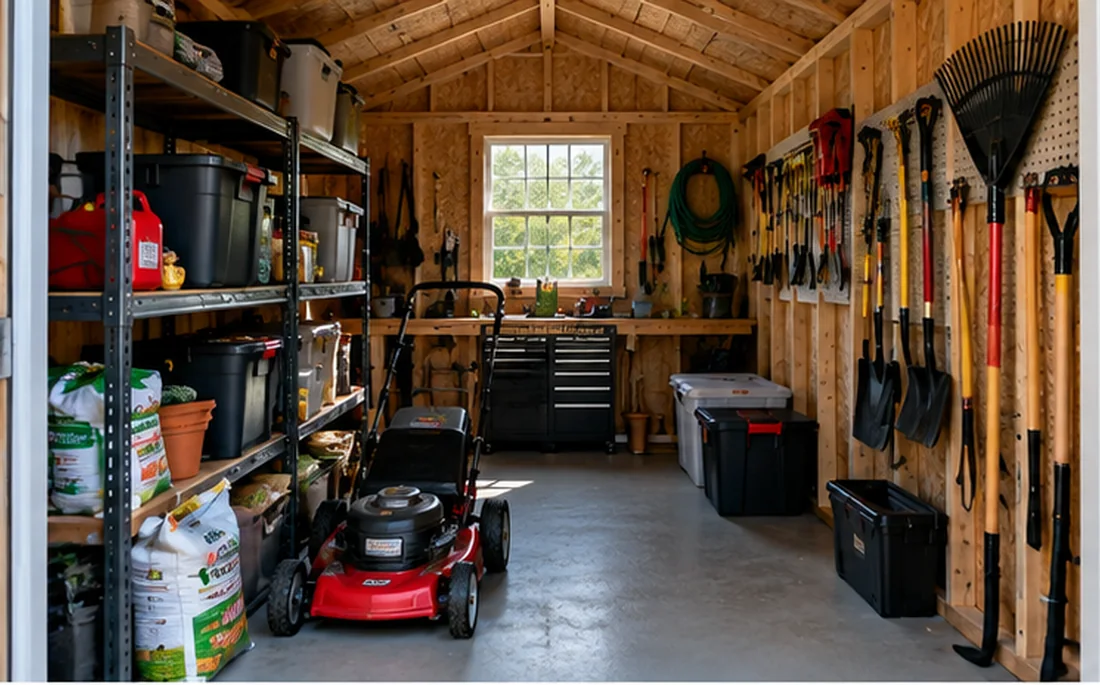
A kit purchase can be satisfying when the site and tools are ready. The common problem is beginning assembly before confirming parts, weather, foundation and available help.
Read the current manual completely
Identify stages that require multiple people, minimum temperatures for sealants, specific tools, and any prohibited substitutions. Check the kit version against your exact model.
Inspect and inventory first
Lay out parts safely, compare to the packing list, and photograph missing or damaged components before assembly. Keep small hardware grouped and labeled.
Prepare the work site
Check the base for level and required dimensions, allow a clear staging area, and plan weather protection for exposed materials. Follow local safety rules and use suitable protective equipment.
Complete the final checks
Verify anchoring, fastener placement, door function, drainage, and any required inspection before loading the shed. Keep instructions and spare parts for later maintenance.
Plan the job as a sequence
Divide work into inventory, base verification, wall assembly, roof installation, anchoring, alignment and final cleanup. The manual may specify that some steps must occur in a different order; follow it rather than a generic checklist. Determine which panels need two people, what lifting equipment may be appropriate, and whether wind or rain would make the work unsafe. Schedule helpers for the steps that actually require assistance.
Give yourself a good staging area
Keep cartons and components dry as instructed, with hardware separated and part numbers visible. Avoid leaning large panels where they can fall. Check actual ground dimensions before beginning assembly and leave room around the shed for tools and people. If parts are missing or damaged, use the manufacturer's process before trying to improvise structural substitutions.
Finish with a measured inspection
Test door clearance and alignment, visible panel and roof attachments, anchor completion, drainage and any promised cleanup. Store a digital copy of the manual, photos and spare-parts information. An installer’s verbal assurance should not replace any required inspection. Waiting until the shed is fully loaded makes access to anchor points and damaged parts more difficult.
Buyer / homeowner checklist
- Match manual to exact SKU
- Inventory before assembly
- Check foundation and weather window
- Do final anchoring and door tests
Put it into practice: a planning example
A boxed shed arrives on Friday, but one panel is damaged and the installer is scheduled for Saturday. If you open cartons only when the crew arrives, the entire day can be lost. Inventory promptly under the retailer's claim rules, stage parts by the manual's sequence, and protect them from moisture. Confirm foundation readiness and weather limits before committing helpers. Make an assembly finish checklist covering fasteners, anchoring, door alignment and cleanup.
Questions to bring to a seller or installer
A useful comparison begins with current written specifications for exact model numbers. Put all contenders in one worksheet and do not replace missing specifications with guesses. A good answer identifies the product, base, and included services, rather than offering a generic sales assurance.
- What exact kit or building is involved?
- What must be ready before work begins?
- Who is responsible for delivery, safety and approvals?
- What are the acceptance and warranty procedures?
For every answer, note the model number, the source of the specification, the date you obtained it, and whether it was confirmed in a current installation manual or supplier quote. This makes the comparison more useful if prices or terms change before you purchase.
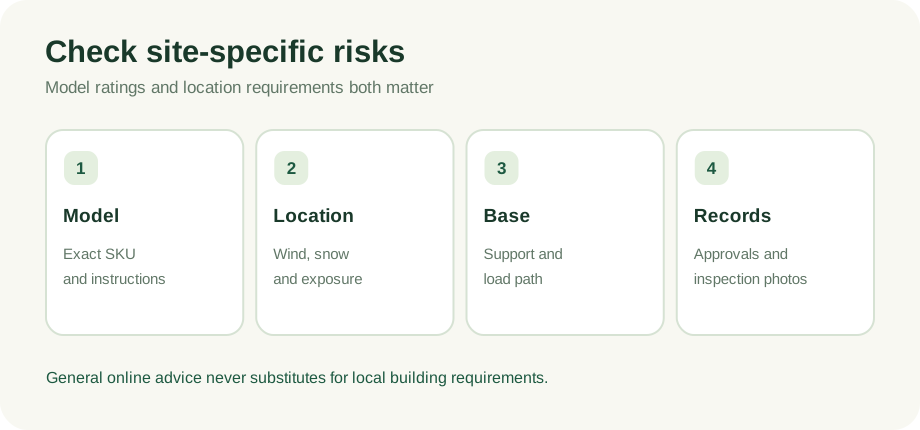
Frequently asked questions
Can one person build any shed kit?
No. Some kits explicitly require two or more people for safe panel handling and roof assembly.
Next step: compare complete specifications
Before committing, place at least two suitable models side by side. Note interior dimensions, actual doorway, floor construction, permitted foundation, anchoring, delivery terms, and warranty exclusions. Where specifications or prices are missing, contact the seller for the current written information. If work involves structural changes, power, or local approvals, consult the appropriate qualified professional.
We have not hands-on tested products or inspected customer installations for this article. Product specifications and applicable building rules must be checked with current manufacturers and local authorities. Retailer links elsewhere on this site are direct links until affiliate approvals are confirmed.
Read our editorial policy ↗